LabLynx KB:Healthcloud POL user manual - lab inventory
Lab Inventory Overview
The Lab Inventory section contains the list and details of all inventory items and their components in the system. Authorized users can manage those items, including details like type of substance or item, manufacturer, supplier, amount on hand, expiration dates etc., as well as add new items, dispose of expired items and the like. Users can also upload associated files, e.g. MSDSs, SOPs, etc.
To Add a New Lab Inventory Item
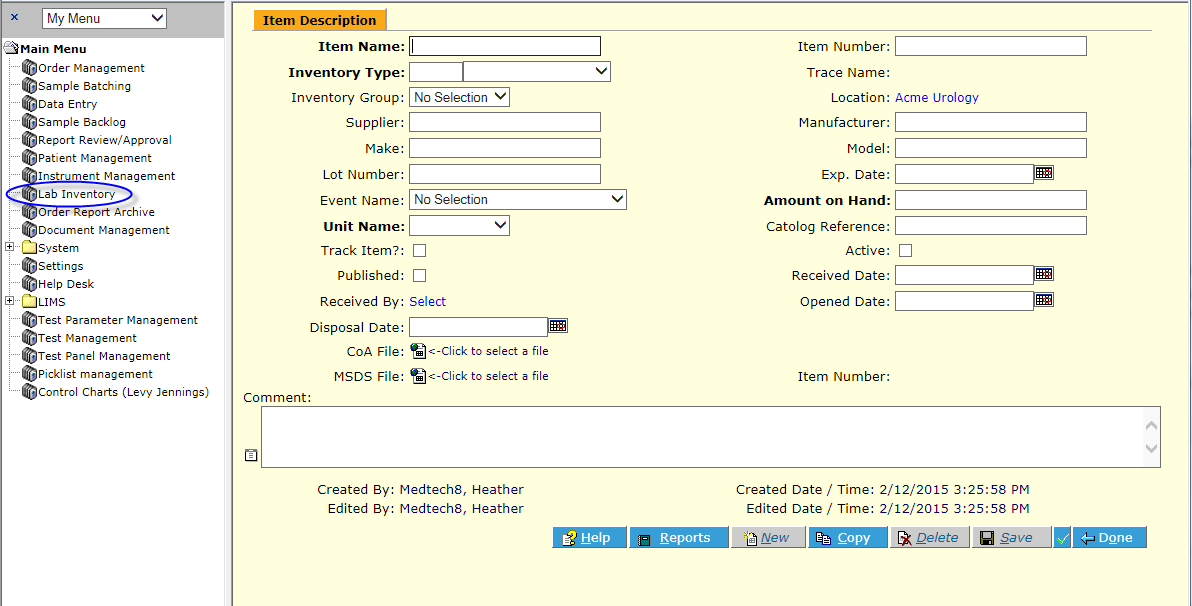
Navigate to the Lab Inventory menu item and click the New ![]() button. The Item Description Detail screen displays.
button. The Item Description Detail screen displays.
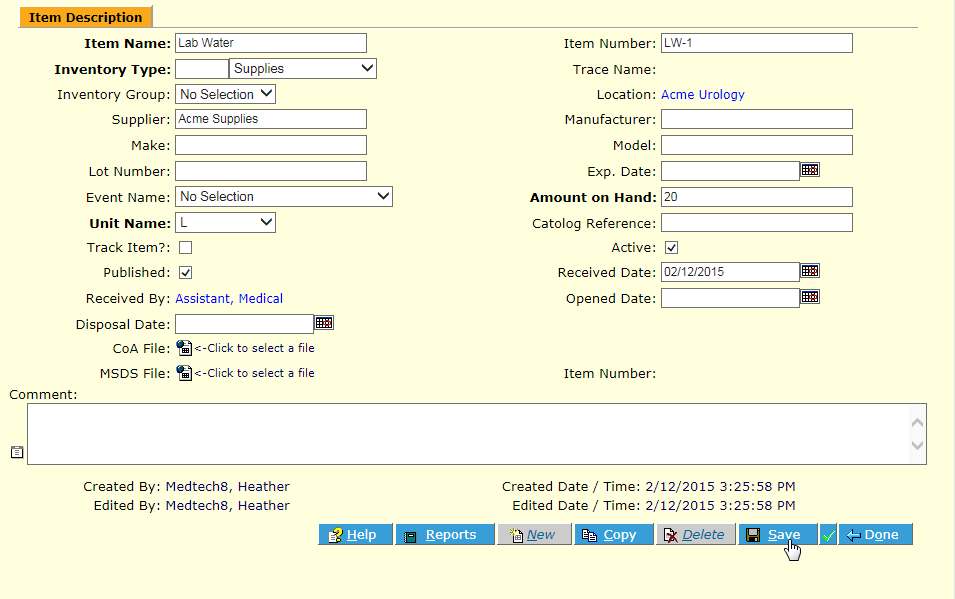
Enter all available information. Fields in Bold are required. The item must be Active to be available for assignment to batches, and Published to prevent further modification.
- NOTE: Once an item has been made Published and Active, you may add - BUT NOT REMOVE - Components. It is best practice to Save with minimum information filled in, then finish all information completely before making Active and Published.
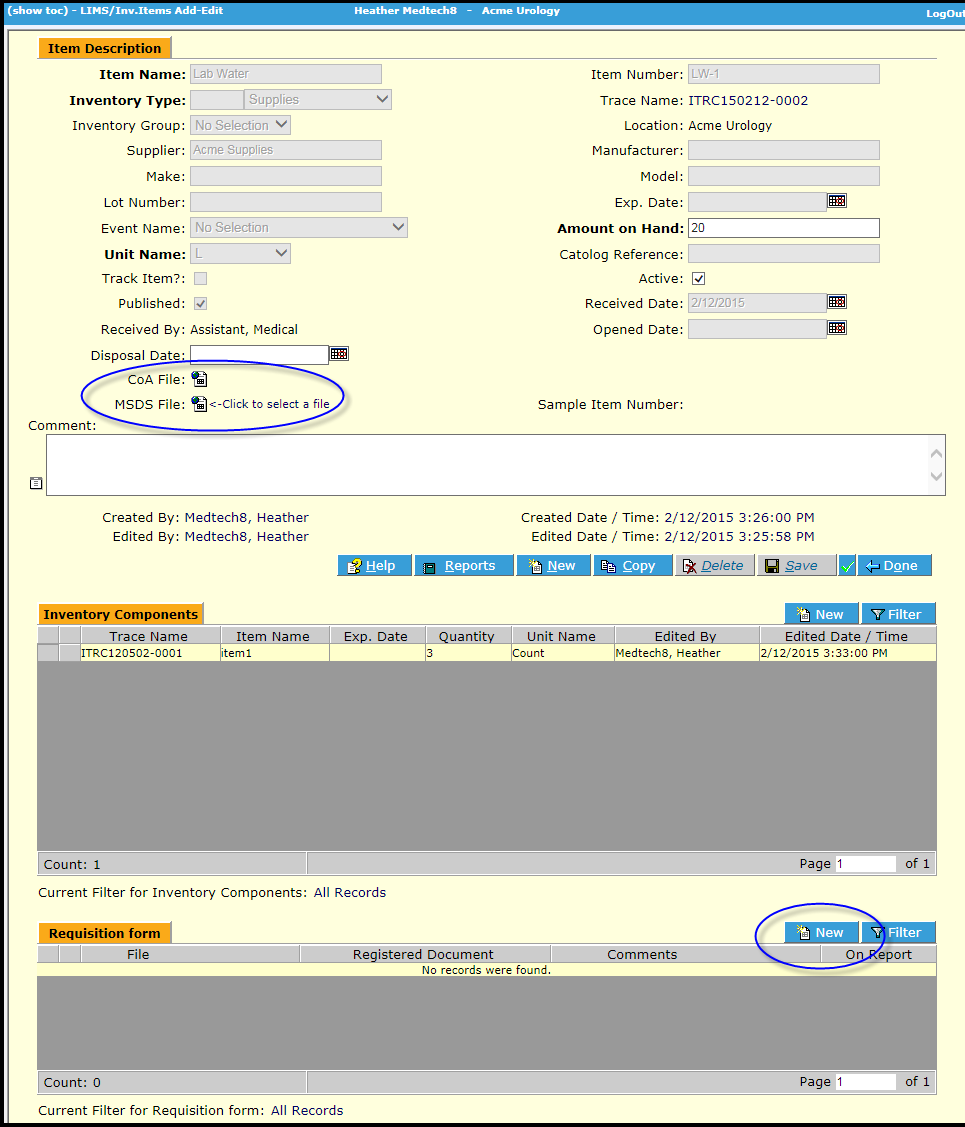
Once information is entered and Saved, it is automatically given a system Trace Name ID. You may also define its components (recipe), and also upload any associated files (CoA File, MSDS File and/or any others using the Requisition form frame). An item may not be made Active until the Published checkbox is checked.
To upload files, click the CoA File or MSDS File icon, or click New ![]() on the Requisition form frame.
on the Requisition form frame.
To Copy an Existing Lab Inventory Item and Create a New Item From the Copy
Navigate to the Lab Inventory menu item, select the item you wish to copy and click the Copy ![]() button. The Item Description Detail screen displays an exact copy of the existing item.
The Save
button. The Item Description Detail screen displays an exact copy of the existing item.
The Save ![]() button is inactive until any changes are made. Make any desired changes for the copy of the Inventory Item, and click Save
button is inactive until any changes are made. Make any desired changes for the copy of the Inventory Item, and click Save ![]() . A unique Trace Name ID will be generated.
. A unique Trace Name ID will be generated.
To Delete a Lab Inventory Item
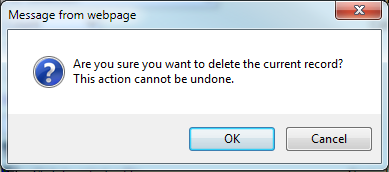
Navigate to the Lab Inventory menu item, select the item you wish to delete and click the Delete ![]() button. HCPOL displays a confirmation popup.
button. HCPOL displays a confirmation popup.
Click Yes to delete the item.


