LabLynx KB:Healthcloud POL user manual - patient management
Patient Management Overview
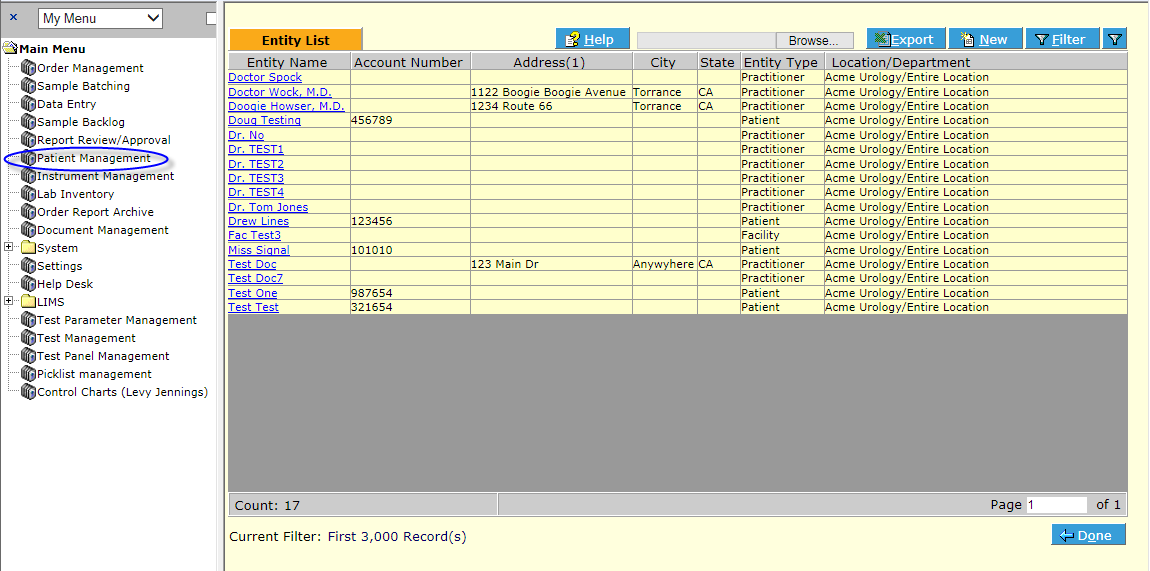
This section contains the list and details of all Patients, as well as the Physicians and any other possible specimen submitters in your practice. It can actually be a database of any entities you would like to have in the LIS.
To Add a New Patient or Physician
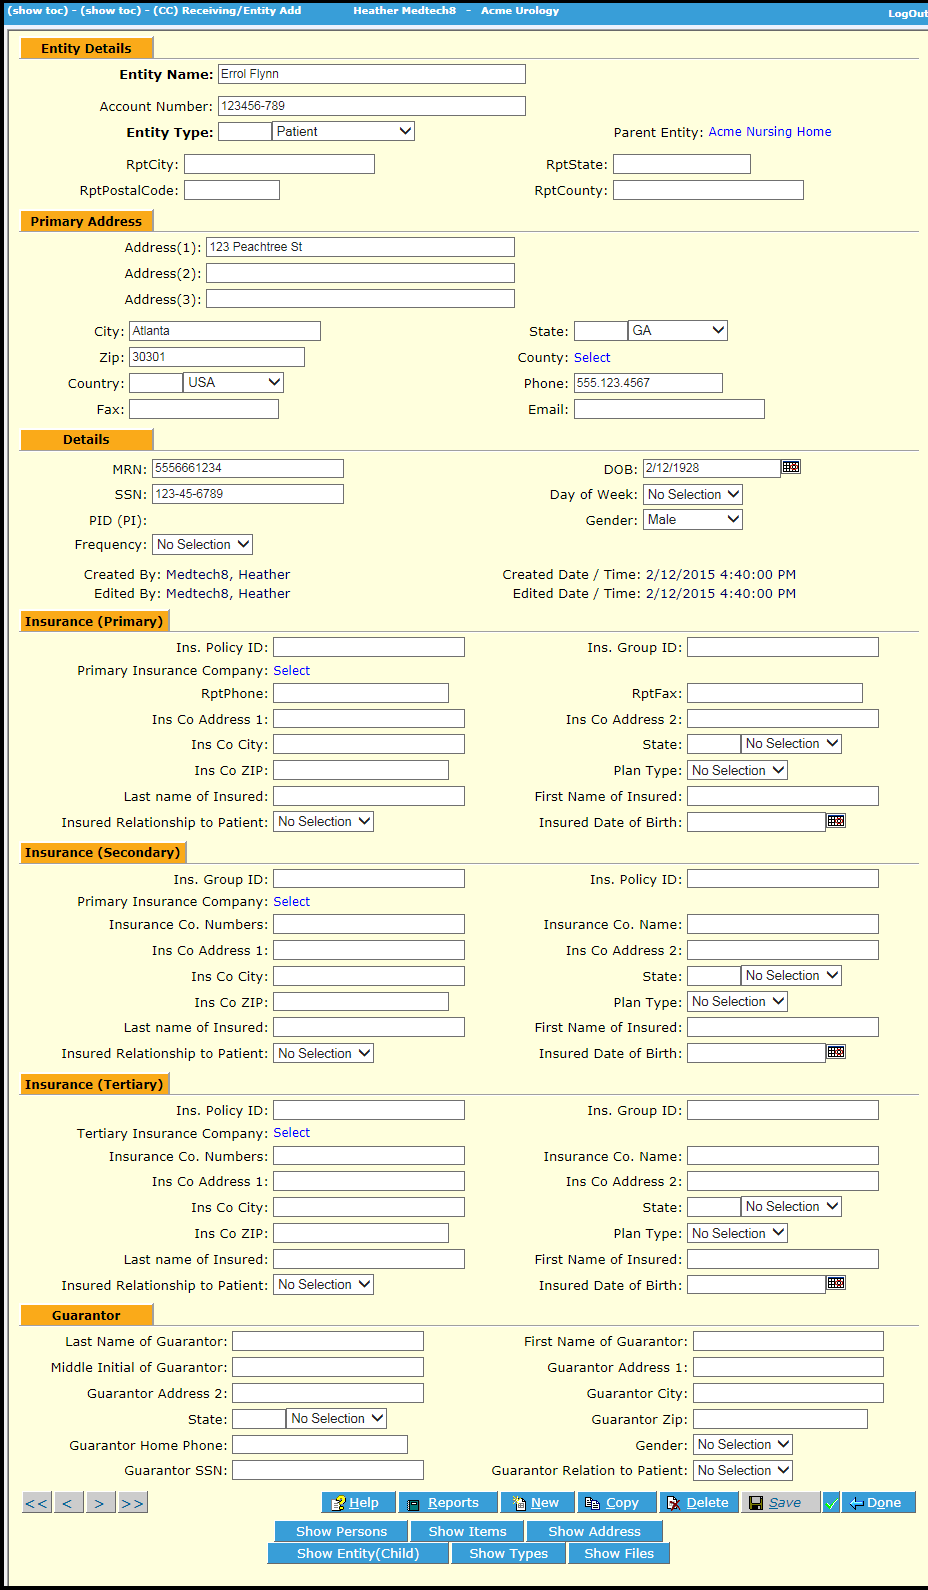
Navigate to the Patient Management menu item. Click the New ![]() button. The New Entity Detail screen displays. Enter all information available (Bold fields are required at a minimum) and click Save
button. The New Entity Detail screen displays. Enter all information available (Bold fields are required at a minimum) and click Save ![]() .
.
- NOTE: A "Parent Entity" could be a primary facility or hospital, for instance, where the patient is receiving treatment.
- NOTE: Patient or other entity information could be automatically taken directly from your EMR/EHR if a HealthCloudhub integration exists.
Additional information may now be added in the same way, by clicking on the appropriate buttons to display their frames. The buttons toggle between Show and Hide.
- Show Persons - Add individuals related to the main Entity.
To add persons, click the New ![]() button.
button.
- Show Types - You can add additional roles to the main Entity by selecting them here.
- Show Items - Items are a handy way to associate pretty much anything with anything else, in this case with a client, physician or patient. Items, however, must have been pre-defined by an authorized user (see Item Management).
To Add an Item to an Entity
This allows you to add relationship Item characteristics to the patient or physician, such as Invoice to or Copy to (send copy of report to).
Click the New ![]() button on the Entity Detail screen and select the pre-defined Item you would like to associate with the Entity (Client, Physician, Patient, etc.) by first selecting the Item Type.
button on the Entity Detail screen and select the pre-defined Item you would like to associate with the Entity (Client, Physician, Patient, etc.) by first selecting the Item Type.
Next, click the Select link to choose an existing Item.
Enter any further details in the text box and click Save ![]() . The Item is now associated with the main Entity.
. The Item is now associated with the main Entity.
Show Address, Show Files
You can also add additional addresses and/or upload files to associate with the main Entity using those frames.


