LabLynx KB:ELab 7 user manual - item management
Item Management Overview
Products and other items of interest can be defined in the system according to the details/specifications you choose to include, and then linked to tests, other items or entities, and files or documents uploaded and associated with the product.
To View Items
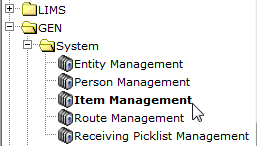
Navigate to the Item Management menu item. Where it is in your menu will vary, based on your specific lab setup preferences.
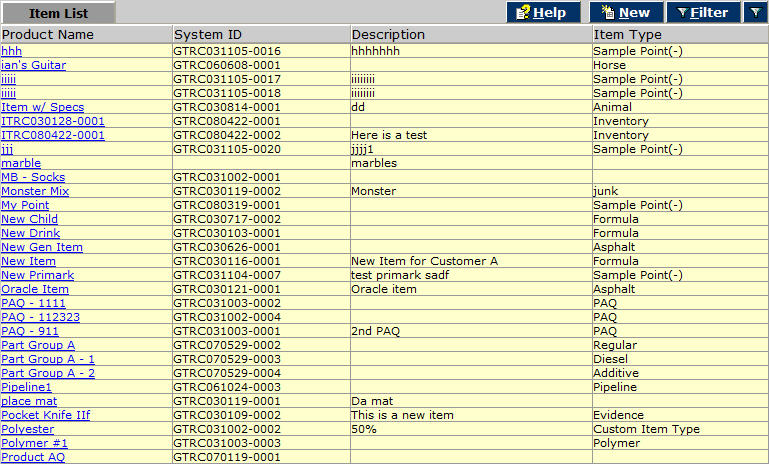
The Items list displays
The list of products or similar items defined in the system is displayed. To view the details, click any item's Product Name. Authorized users can edit the item using the text boxes, assignment frames, links/buttons and picklists on the detail screen.
[PICTURE Item Detail.jpg]
To view details of sub-frame items ("Child" products, associated files, etc.), click the blue hyperlink for that item. To view the product's specifications, click the red Item Specs [PICTURE Item Specs button.jpg] button.
[PICTURE Item Specs.jpg]
Authorized users may edit the item's specifications here.
To Add or Edit Products/Items
Follow steps 1 and 2 of To View Products/Items. The detail screen includes all information relating to the item. Authorized users may modify the information by clicking underlined blue hyperlinked selections, selecting from a drop-down picklist, using assign/unassign buttons or typing different information in the fields displayed. Click items in sub-frames to edit them. Click Save [PICTURE save button (s).jpg] when finished. If items are not editable, you may not have editing privileges for that page. You must contact your system administrator. To add a new item or product, click the New [PICTURE New button (s).jpg] button either on the main list screen or on the detail screen for an existing item. Picklists display choices for some of the fields which you can select. Required fields are bold. Click Save [PICTURE save button (s).jpg] when done.
To Delete Products/Items Follow steps 1 and 2 of To View Products/Items. In Step 2, authorized users may select the item you wish to delete. In the Item detail screen, click the Delete [PICTURE Delete button (s).jpg] button. This action cannot be undone.


