LabLynx KB:LIMS user manual - 15.0 inventory item management
|
|
This is an article specific to the Category:LabLynx knowledge base. Its context outside of LabLynx, Inc may not be apparent, thus why it appears inside the LabLynx KB namespace. |
Introduction
LabLynx enables you to edit inventory item information. An inventory item is the individual items that requires tracking in the system. The primary use for recording an inventory item is for associating it with specific process batches in the LIMS Results Entry area. This allows users to associate batches of processed samples with the reagents, standards, and other materials used in their processing. The second use for the inventory items area is to allow the laboratory to track the items consumed and in-use by the laboratory for general information purposes.
System Administrators use LabLynx ELab to manage inventory items, including:
- item description
- inventory items custom fields
Adding an inventory item
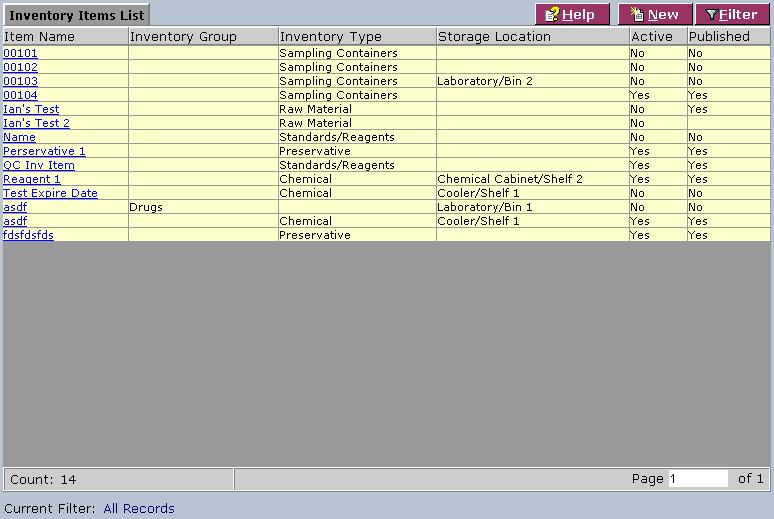
The Inventory Items List screen displays inventory item information currently defined in the system:
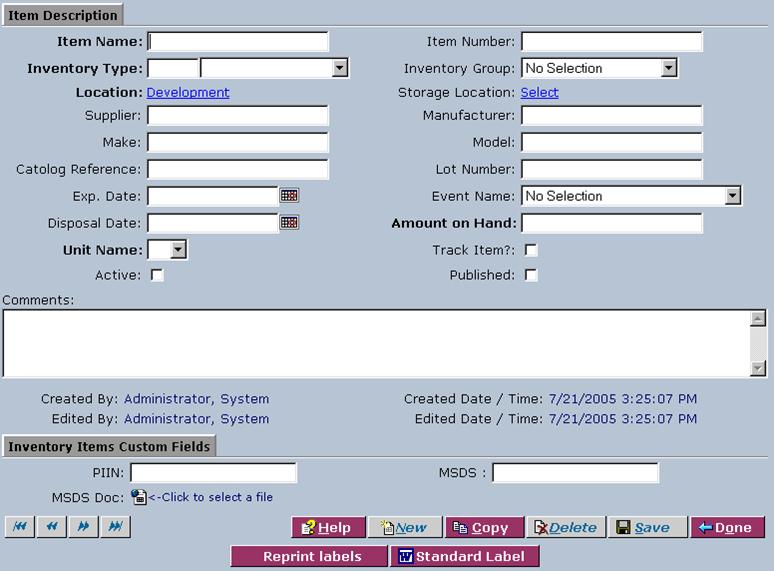
1. From the Inventory Items List, click New. The system will display the Item Description screen:
2. Complete the fields of the Item Description screen. Fields in bold are required. The various fields are explained below:
| Field | Description |
|---|---|
| Item Name | Enter the name of the item. |
| Item Number | Enter the identification number of the item. |
| Inventory Type | Select the inventory type from the drop-down list. There is another field here to enter additional inventory type information. |
| Inventory Group | Select the inventory group from the drop-down list. |
| Location | Click the link to select a storage location from the Location Lookup List. |
| Storage Location | Click the link to select a storage location component from the Storage Location Components Lookup List. |
| Supplier | Type the name of the supplier. |
| Manufacturer | Type the name of the manufacturer. |
| Make | Type the make of the item. |
| Model | Type the model of the item. |
| Catalog Reference | Type the catalog reference for the item. |
| Lot Number | Type the lot number for the item. |
| Exp. Date | Type the expiration date or click the calendar to select the expiration date for the item. |
| Event Name | Select the event name from the drop-down list. |
| Disposal Date | Type the disposal date or click the calendar to select the disposal date for the item. |
| Amount on Hand | Type the amount of the item that is in inventory. |
| Unit Name | Select the item's unit of measure from the drop-down list. |
| Track Item? | Select the check box to track the item. |
| Active | Select the check box to indicate the item is active. |
| Published | Select the check box to publish the item. |
| Comments | Type any additional comments for the item. |
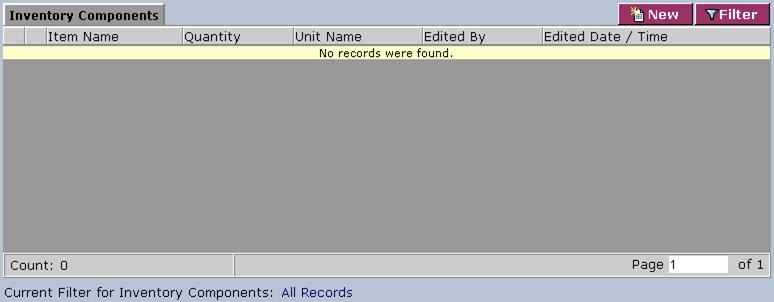
3. When you are finished, click Save. The system will display the Inventory Components area:
Adding or editing an inventory item component
Inventory components enable you to indicate if an inventory item is comprised of other inventory items.
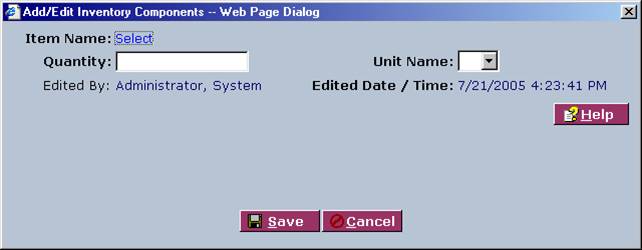
1. From the Inventory Components area, select an item name or click New. The system will display the Add/Edit Inventory Components screen:
2. Complete the fields of the Add/Edit Inventory Components screen. Fields in bold are required. The various fields are explained below:
| Field | Description |
|---|---|
| Item Name | Click the link to select an item name from the Inventory Items Lookup List. |
| Quantity | Type the quantity of the component items that are in the inventory item. |
| Unit Name | Select the item's unit of measure from the drop-down list. |
3. When you are finished, click Save and then Done.
Deactivating an inventory item
1. From the Inventory Items List screen, select an item name. The system will display the Item Description screen.
2. Remove the check from the Active check box by clicking on it.
3. When you are finished, click Save and then Done.


