LabLynx KB:LIMS user manual - 17.0 storage location management
|
|
This is an article specific to the Category:LabLynx knowledge base. Its context outside of LabLynx, Inc may not be apparent, thus why it appears inside the LabLynx KB namespace. |
Introduction
LabLynx enables you to add, edit, and export LIMS storage location information. Storage locations are physical sub-locations existing within labs of a specific system location. They serve to link samples, inventory, and other entities to a reference location, allowing users to locate these objects via the system. Storage Locations also allow the system to log a history of the objects as they are stored throughout the laboratory.
System Administrators use LabLynx ELab to manage laboratory storage locations, including:
- storage location details
- storage location labs
- storage location components
Adding or editing a storage location
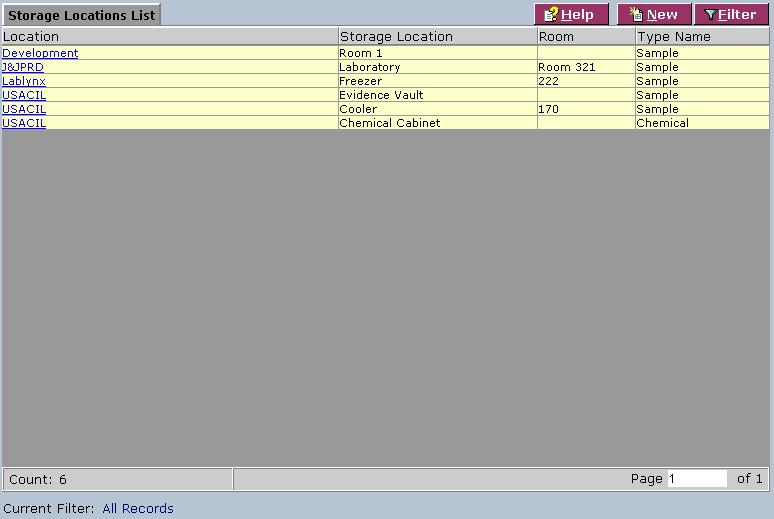
The Storage Locations List screen displays storage location information currently defined in the system:
1. From the Storage Locations List, select a location or click New. The system displays the Storage Location Details screen:
2. Complete the fields of the Storage Location Details screen. Fields in bold are required. The various fields are explained below:
| Field | Description |
|---|---|
| Location | Select the name of the system location where the storage location exists from the drop-down list. |
| Storage Location | Type the display name for the storage location. |
| Room | Type the room number. |
| Type Name | Select the storage location's usage type from the drop-down list. |
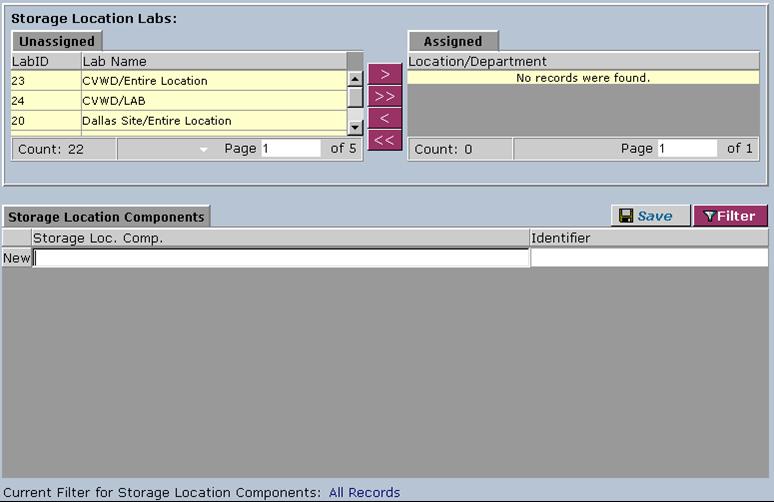
3. When you are finished, click Save. The system will display the Storage Location Labs and Storage Location Components areas:
Assigning a storage location to a laboratory
1. From the Storage Location Labs area on the Storage Location Details screen, select a lab from the Unassigned list:
2. Click the > button to assign one or more selected lab(s) to the storage Location, or the >> button to assign all labs to the storage location.
3. To remove a lab from a storage location, use the < button for one or more labs or the << button for all labs.
Adding or editing a storage location component
Within each storage location, at least one component must be defined. Components act as the physical areas within each storage location where the entities are placed.
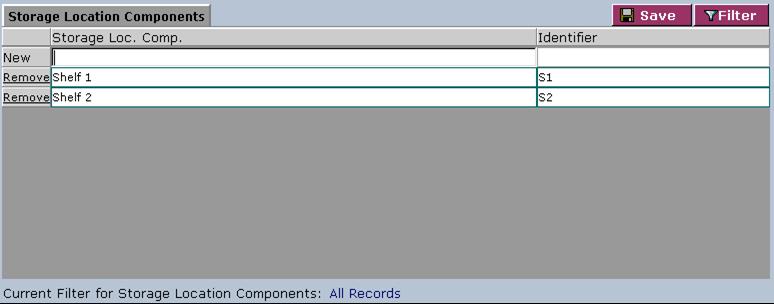
1. From the Storage Location Components area on the Storage Location Details screen, select a new or existing storage location component:
2. Complete the fields of the Storage Location Components area. The various fields are explained below:
| Field | Description |
|---|---|
| Storage Loc. Comp. | Type the name of the storage location component. |
| Identifier | Type the system identifier of the storage location component. |
3. To remove a storage location component, click the corresponding Remove link.
4. When you are finished, click Save in the Storage Location Components area.


